
Microsoft PowerPoint
To make accessible Microsoft PowerPoint documents, click or tab to each of the following sections and expand them for the details.
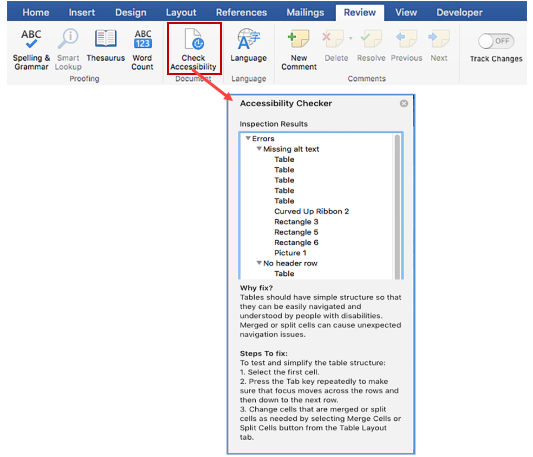
Run the Accessibility Checker
Most versions of Microsoft PowerPoint starting with version 2010 for Windows includes a built-in accessibility checker. Microsoft PowerPoint for Mac version 2011 does not have the accessibility checker, but newer versions of the product do.
NOTE: To run the Accessibility Checker, the document MUST be saved in the latest .pptx format. It will not check a .ppt (PowerPoint 97-2003) formatted document.
To check for accessibility on Microsoft PowerPoint 2010 for Windows and above:
- Click File > Info menu.
- Click the Check for Issues button and in the drop-down menu select Check Accessibility.
- When the Accessibility Checker task pane appears next to the content, it will show the inspection results.
- Click on each issue and work through each one. There will be information below the results to assist in checking the issues.

To check accessibility on Microsoft PowerPoint for Mac:
- Click Review menu and click the Check Accessibility button.
Use Alternative Text with Visual Content and Tables
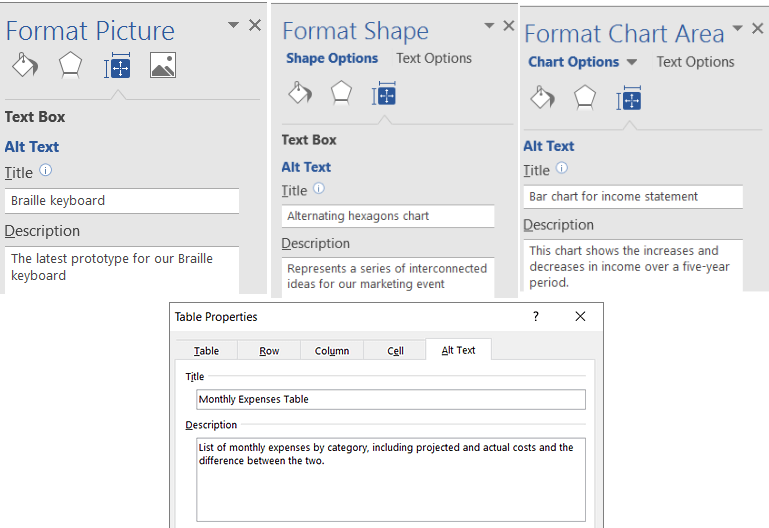
Every image, SmartArt graphic, shape, chart, and table on a document need to have Alternative Text associated with them. This allows the screen readers to give a description of that object. The alternative text should clearly identify the item without being too long or too short.
To add alternative text to object in PowerPoint:
- Right-click the object.
- Go to the Properties of the Object or Table.
- Select Alt Text property.
- Type a description and a title.
Use Meaningful Hyperlink Text and Screen Tips
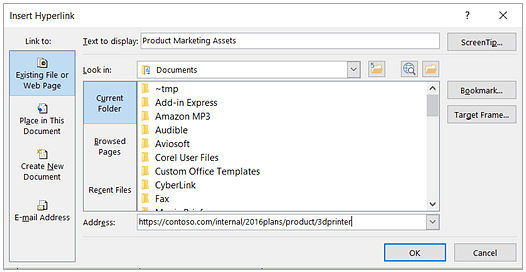
When adding a Hyperlink in a PowerPoint document, make sure the link text is reflective of what the link refers to.
To add a Hyperlink:
- Select text that you want to be the hyperlink and then right-click.
- Select Hyperlink from the drop-down list.
- Review and/or modify the description for the hyperlink in the Text to display box.
- In the Address box, enter the destination address for the hyperlink.
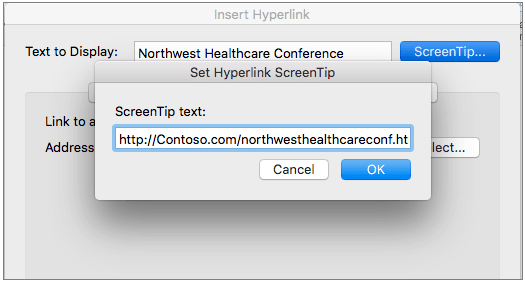
- Click the Screen Tip button to enter a screen tip that will be seen when a mouse goes over the link.
Screen Shot from Windows version:
Screen Shot from Mac version:
Use Bulleted or Numbered Lists
When there is a list of items to display on a slide, use bulleted or numbered lists. Screen readers are able to understand how the content is organized and how many items are in the list.
To use bulleted or numbered lists, list all of the items in the document. Select the text of all of the lines and then click either bulleted or numbered list from the Paragraph tab.
Use More Than Color to Convey Meaning
If there is a certain color coding for text in the document, use symbols along with colors to indicate the meaning of the color. For instance, if green indicates "success", then use a check mark along with the green. If red indicates "failure", then use an "X" along with the red. It is also possible to add graphics along with Alt Text to indicate these meanings. This is especially important for PowerPoint documents since they are Presentation based.
Use Sufficient Contrast for All Visual Content, Text, and Backgrounds
Most versions of Microsoft PowerPoint starting with version 2010 for Windows includes a built-in accessibility checker. Microsoft PowerPoint for Mac version 2011 does not have the accessibility checker, but newer versions of the product do.
NOTE: To run the Accessibility Checker, the document MUST be saved in the latest .pptx format. It will not check a .ppt (PowerPoint 97-2003) formatted document.
To check for accessibility on Microsoft PowerPoint 2010 for Windows and above:
- Click File > Info menu.
- Click the Check for Issues button and in the drop-down menu select Check Accessibility.
- When the Accessibility Checker task pane appears next to the content, it will show the inspection results.
- Click on each issue and work through each one. There will be information below the results to assist in checking the issues.
To check accessibility on Microsoft PowerPoint for Mac:
- Click Review menu and click the Check Accessibility button.
Every Slide Should Have a Unique Title
Every slide needs to have a unique slide title. For instance, if a presentation is made on "American Politics", it should only be used on the first slide and no other slides in the presentation. The second slide could read "American Politics - the 2016 Presidential Election". It still conveys the idea, but is specific to the slide about the 2016 Presidential Election. Even if the slide does not need a title, a Title should be added and then hidden. This allows the screen readers to navigate the content and convey the information about the slide.
To have a title on a slide, go to the Home tab and click the Layout to select a design with a title on it. Type in the name of the Title on the slide.

To modify or hide a title from a slide for presentation purposes in Microsoft PowerPoint for Windows:
- Click on the object on the slide.
- Click on Drawing Tools.
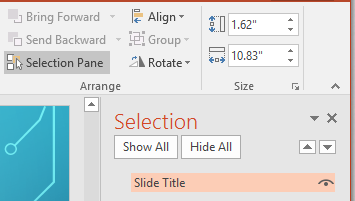
- Under the Arrange group, click on the Selection Pane.
- Find the title to modify and click on it to modify the name.
- To hide or show the title, click the icon to the right of the title to toggle hidden or visible. An "eye" icon will appear if it is visible. A line will appear if it is hidden.
To modify or hide a title from a slide for presentation purposes in Microsoft PowerPoint for Mac:
- Click on an object on the slide.
- Click on the Home tab.
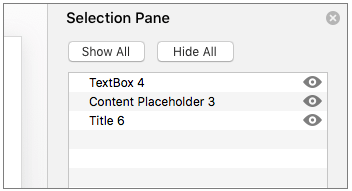
- In the Drawing group, select Arrange and then click on the Selection Pane.
- Find the title to modify and click on it to modify the name.
- To hide or show the title, click the icon to the right of the title to toggle hidden or visible. An "eye" icon will appear if it is visible. A line will appear if it is hidden.
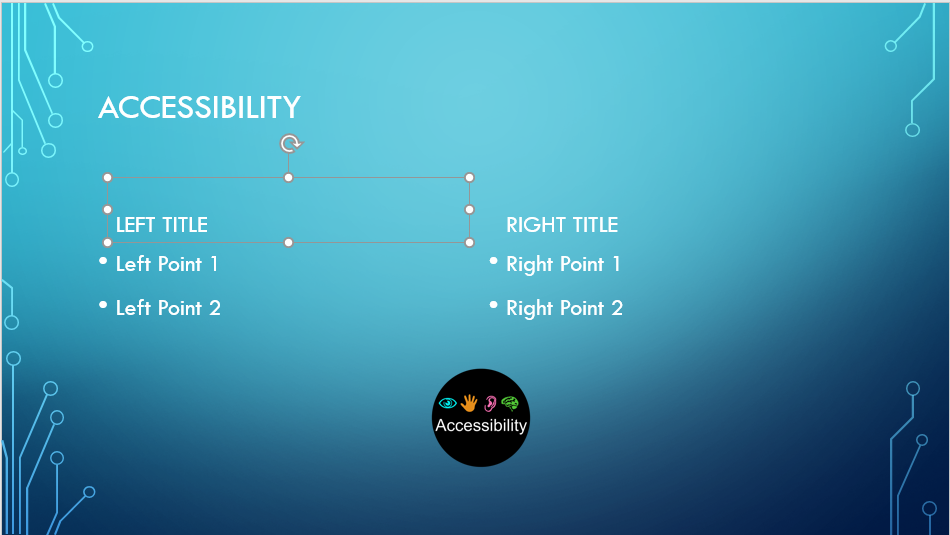
Make Sure Reading Order Makes Sense
The reading order of the slide is important when screen readers are trying to read what is on the slide. Make sure that the objects on the slide are in a logical reading order. As you put items on the slide, it usually follows the order in which the items were placed. To check for Reading Order, select an object on the slide and select from the Drawing Tools > Arrange group > Selection Pane. Move the objects around until the items flow correctly.
For this slide:
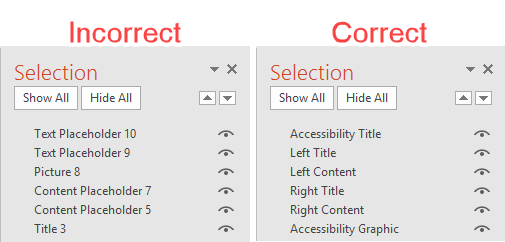
The incorrect Reading Order is on the left side of this graphic and the correct reading order is on the right side of the graphic:
Use Simple Table Structures and Specify Header Information
If tables are used on a slide, keep the table structure as simple as possible. If there is a complex structure, break it down into smaller simple tables. Make sure there is a header row for each column and do not use merged cells in the tables. Use the Table Tools to edit the table options.
Use Large Font Size and White Space
Use a larger than normal font size of 18-point or above, sans-serif fonts (such as Arial or Calibri) and provide plenty of "white space". The text on the slide should not look crowded or illegible. People with dyslexia tend to see lines of text that compress together and it becomes distorted or merged. Less text on the slide is better than more text on the slide. Also avoid using ALL CAPS, excessive italics, or underlines for best readability by all.
Make Media in Presentation Accessible
When doing a presentation and the slides contain any kind of media, then use captions, subtitles and alternative audio tracks where needed. PowerPoint 2016 does support the playback of video with multiple audio tracks and supports closed captions and subtitles that are embedded in videos. However, the video files and audio tracks must be prepared prior to importing into PowerPoint.
Do not use Compress Media or Optimize Media Compatibility features as the closed captioning, subtitles and alternate audio tracks are not preserved.